Mastering Bread Baking: Tips for Perfect Loaves

Baking bread at home can be a rewarding experience, transforming simple ingredients into a warm, crusty loaf that fills your kitchen with an irresistible aroma. Whether you are a novice baker or looking to refine your skills, mastering the art of bread baking requires understanding techniques, ingredients, and a bit of patience. This guide will provide you with essential tips to help you create perfect loaves every time.
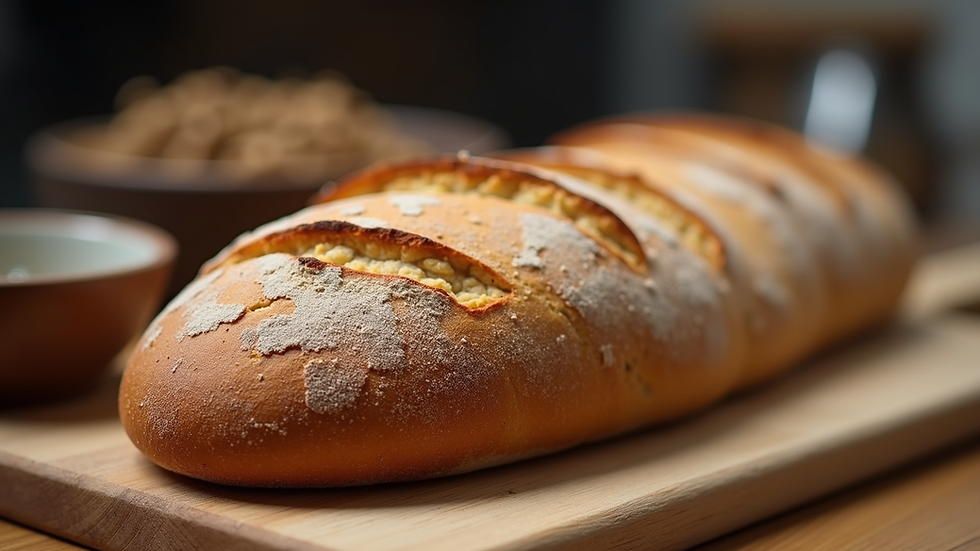
Understanding the Basics of Bread Baking
Before diving into the specifics of bread baking, it’s crucial to understand the fundamental components that contribute to a successful loaf.
Key Ingredients
Flour: The backbone of any bread recipe. Different types of flour (all-purpose, bread flour, whole wheat) have varying protein content, which affects the bread's texture.
Water: Hydration is vital for gluten development. The amount of water can vary based on the flour type and the humidity in your environment.
Yeast: This living organism is responsible for fermentation, which causes the dough to rise. You can use active dry yeast, instant yeast, or fresh yeast.
Salt: Enhances flavor and controls yeast activity. It’s essential for developing the bread’s structure.
Sugar: While optional, sugar can help with browning and add a touch of sweetness.
The Role of Gluten
Gluten is a protein found in wheat flour that gives bread its structure and chewiness. When flour is mixed with water and kneaded, gluten strands form, creating a network that traps gas produced by yeast during fermentation. This process is crucial for achieving a light and airy loaf.
Essential Tools for Bread Baking
Having the right tools can make a significant difference in your bread-baking journey. Here are some essentials:
Mixing Bowl: A large bowl for mixing ingredients.
Measuring Cups and Spoons: Accurate measurements are key to successful baking.
Dough Scraper: Useful for handling sticky dough and transferring it to different surfaces.
Baking Stone or Sheet: Helps achieve a crispy crust by providing even heat.
Kitchen Scale: For precise measurements, especially important in bread baking.
Proofing Basket: Supports the dough during its final rise, helping it maintain shape.
Step-by-Step Guide to Baking Bread
Step 1: Mixing the Ingredients
Start by combining your dry ingredients (flour, yeast, salt, and sugar) in a mixing bowl. Make a well in the center and gradually add water. Mix until a shaggy dough forms. If using a stand mixer, use the dough hook attachment to combine the ingredients.
Step 2: Kneading the Dough
Kneading is essential for developing gluten. You can knead by hand on a floured surface for about 10 minutes or use a stand mixer on low speed for 5-7 minutes. The dough should be smooth and elastic when ready.
Step 3: First Rise (Bulk Fermentation)
Place the kneaded dough in a lightly oiled bowl, cover it with a damp cloth or plastic wrap, and let it rise in a warm place until it doubles in size. This usually takes about 1-2 hours, depending on the temperature.
Step 4: Shaping the Dough
Once the dough has risen, gently punch it down to release excess gas. Turn it out onto a floured surface and shape it into a loaf or rolls, depending on your preference. Use a bench scraper to help with shaping.
Step 5: Second Rise (Proofing)
Place the shaped dough into a proofing basket or on a baking sheet lined with parchment paper. Cover it again and let it rise until it has puffed up, usually about 30-60 minutes.
Step 6: Preheating the Oven
While the dough is proofing, preheat your oven to the desired temperature, typically around 375°F to 450°F (190°C to 230°C). If using a baking stone, place it in the oven to heat up.
Step 7: Scoring the Dough
Just before baking, use a sharp knife or a lame to score the top of the dough. This allows steam to escape and helps control the expansion of the bread during baking.
Step 8: Baking
Transfer the dough to the preheated oven. If you want a crusty loaf, consider adding steam to the oven by placing a pan of water on the bottom rack. Bake until the bread is golden brown and sounds hollow when tapped on the bottom, usually 25-40 minutes.
Step 9: Cooling
Once baked, remove the bread from the oven and let it cool on a wire rack. This step is crucial as it allows the interior to set properly.
Troubleshooting Common Bread Baking Issues
Even experienced bakers encounter challenges. Here are some common issues and how to fix them:
Dense Bread: This can happen if the dough was not kneaded enough or if there was not enough yeast. Ensure proper kneading and check the yeast's expiration date.
Flat Loaf: If the dough doesn’t rise properly, it may be due to too much salt or not enough warmth during fermentation. Always keep an eye on the temperature.
Crust Too Hard: A hard crust can result from baking at too high a temperature or not enough steam in the oven. Adjust your baking method accordingly.
Exploring Different Bread Types
Once you master the basic loaf, consider experimenting with different types of bread. Here are a few popular varieties:
Sourdough Bread
Sourdough is made using a natural starter instead of commercial yeast. This process takes longer but results in a tangy flavor and chewy texture.
Focaccia
This Italian flatbread is known for its rich olive oil flavor and can be topped with herbs, garlic, or vegetables. It’s easy to make and perfect for dipping.
Baguette
A classic French bread, baguettes are long and thin with a crispy crust. They require a specific shaping technique and a high-temperature bake for the best results.
Whole Wheat Bread
Using whole wheat flour adds more nutrients and fiber to your bread. It may require additional water due to the higher absorption rate of whole grains.
Tips for Perfecting Your Bread Baking Skills
Practice Patience: Bread baking is an art that takes time. Don’t rush the fermentation and rising processes.
Keep a Baking Journal: Document your recipes, techniques, and results. This will help you identify what works best for you.
Experiment with Flavors: Add herbs, spices, or seeds to your dough for unique flavors.
Join a Baking Community: Engage with other bakers online or in local classes to share tips and experiences.
Final Thoughts
Baking bread at home is not just about the end product; it’s about the journey of learning and experimenting. With practice and a few tips, you can master the art of bread baking and enjoy the satisfaction of creating perfect loaves. So gather your ingredients, preheat your oven, and start your baking adventure today!
By following these guidelines and tips, you’ll be well on your way to becoming a skilled bread baker. Remember, every loaf is a learning opportunity, so embrace the process and enjoy the delicious rewards. Happy baking!

Comments